
I’ve fallen a little behind in updating this blog — these first couple of weeks have been a whirlwind! Our days are now filled with six hours of kitchen time, and it’s been an adjustment, both physically and mentally.
As I sit down to write about week two (while already in week four!) I realize I’ve grown accustomed to the unique exhaustion that comes from standing and learning lessons all day, squeezing in a quick lunch, and then heading straight into another class. But honestly, the learning is immense, and time has never felt so slow and fast at the same time. When I’m in the flow of learning something new and incorporating that into my own work, moving from one task to the next just feels like you’re completely present and energized.
Anyway, I said I was going to write about Week 2, so on to that, which is choux, choux choux!
Standard Choux Recipe:
- Water: 125 g
- Milk: 125 g
- Butter (cubed): 100 g
- Salt: 5 g
- Sugar: 5 g
- Flour: 150 g
- Eggs: 250 g
Method:
- In a saucepan, combine milk, water, butter, salt, and sugar. Let simmer.
- Once the mixture reaches a boil, remove from heat and add the flour all at once. Mix well with a heat-safe rubber spatula until fully incorporated. This mixture is called the panade.
- Return the panade to the heat and stir continuously to cook out excess moisture. The dough should pull away from the sides and form a cohesive mass.
- Transfer to a bowl and let cool slightly. Gradually add the eggs, a little at a time, mixing thoroughly after each addition. Stop adding eggs once the dough reaches the right consistency (more on that below).
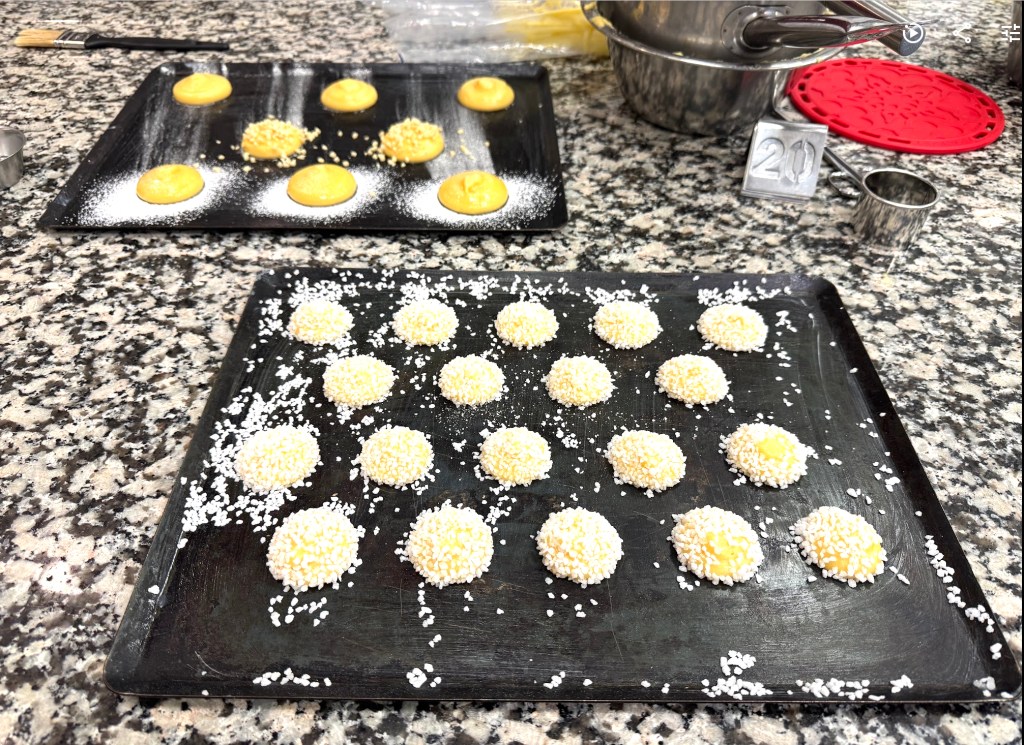
- Transfer to a piping bag and pipe into desired shapes.
- Brush with egg wash or melted butter and bake at 180°C (350°F) for 20–30 minutes, depending on size. Check for doneness.
Lessons From a Week of Choux
I’ve attempted choux pastry before, very unsuccessfully, I might add, mostly because I didn’t understand just how dry the panade needed to be and how to be able to tell the batter consistency was just right. Practicing it every day for a week changed everything though! Here are some key lesson I learned that helped make my choux dough much better:
1. Drying the Panade
Cooking the flour over heat eliminates excess moisture in the dough. You’ll know it’s ready when it forms one smooth ball that doesn’t stick to the sides of the pan when you shake it. If the dough holds too much humidity, your choux won’t puff properly—it’ll stay flat instead of getting that signature hollow structure.
2. Incorporating the Eggs
Adding eggs back into the dough rehydrates it, but it’s crucial to go slowly. Eggs should be added in thirds, or even little by little, constantly checking the consistency. Our pastry instructor taught us three ways to tell when the dough is just right:
- Ruban – The dough should have a smooth, ribbon-like consistency, similar to macaron batter. If it’s too stiff, it needs more egg.
- Bec – When you lift the spatula or paddle attachment, the dough should form a “beak” at the tip.
- Sillon – In French, sillon means the furrow left by a plow. Drag a spatula through the dough—if the line holds its shape before slowly folding in on itself, it’s ready. If it’s too stiff, it needs more egg; if it collapses immediately, it has too much.
3. Venting the Steam
This was new to me! Choux pastry creates a lot of humidity in the oven, which can prevent it from crisping up. To fix this, crack the oven door slightly (with a wooden spoon) 5 to 10 minutes into baking. This helps release excess moisture, resulting in a crispier shell.
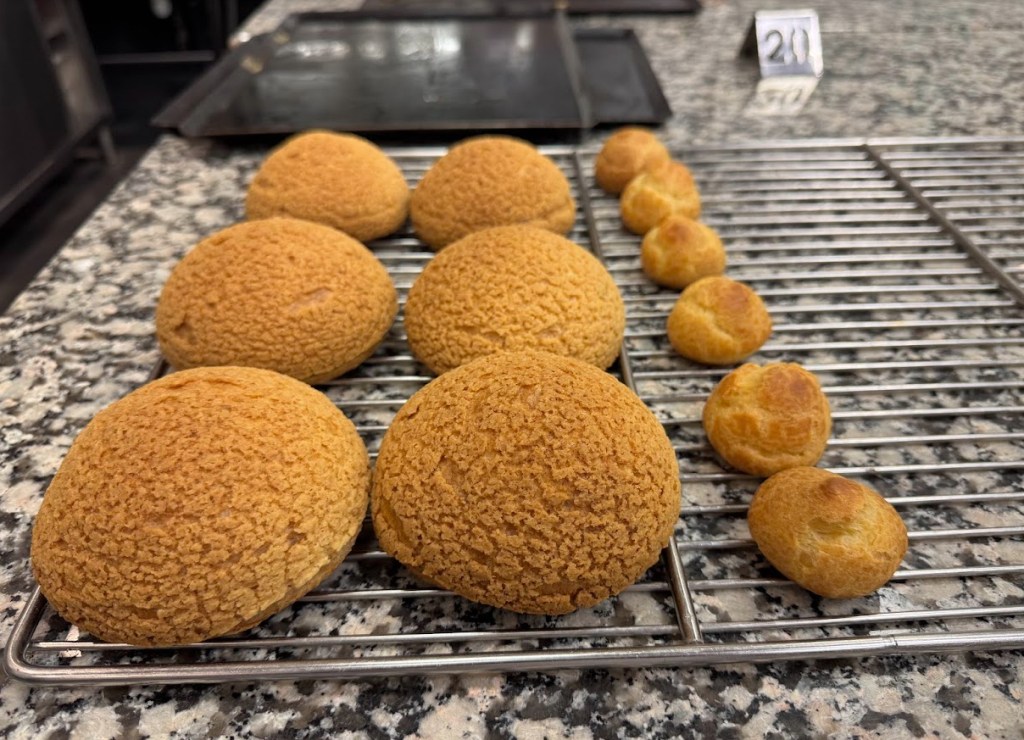
With the same choux recipe, we created an array of pastries for the week.
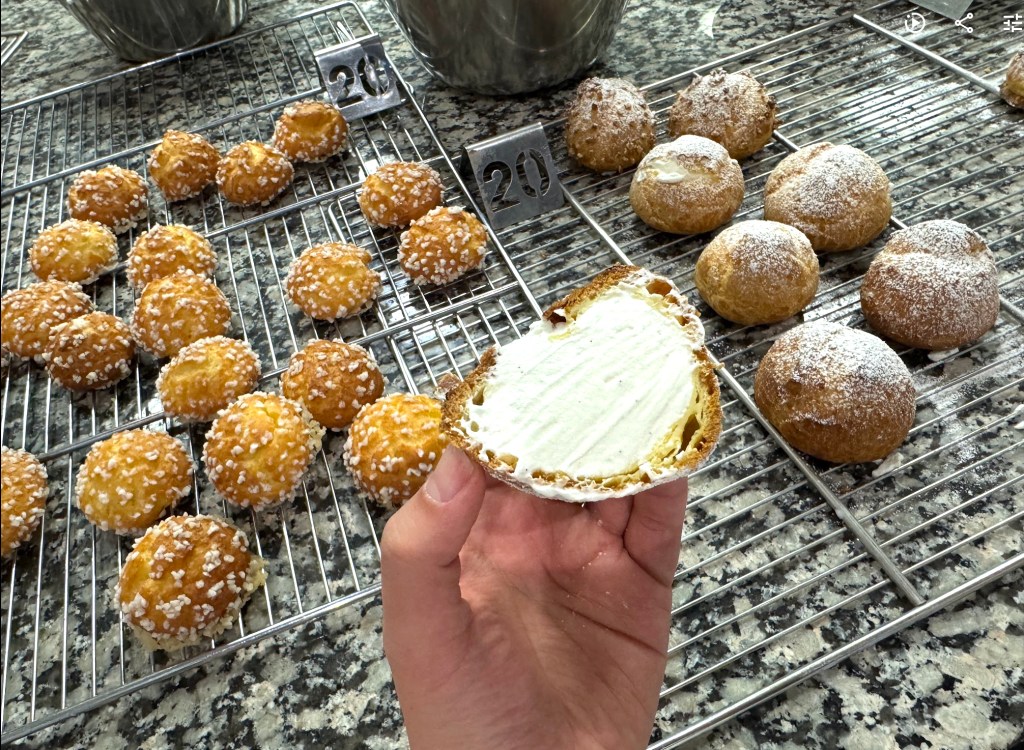

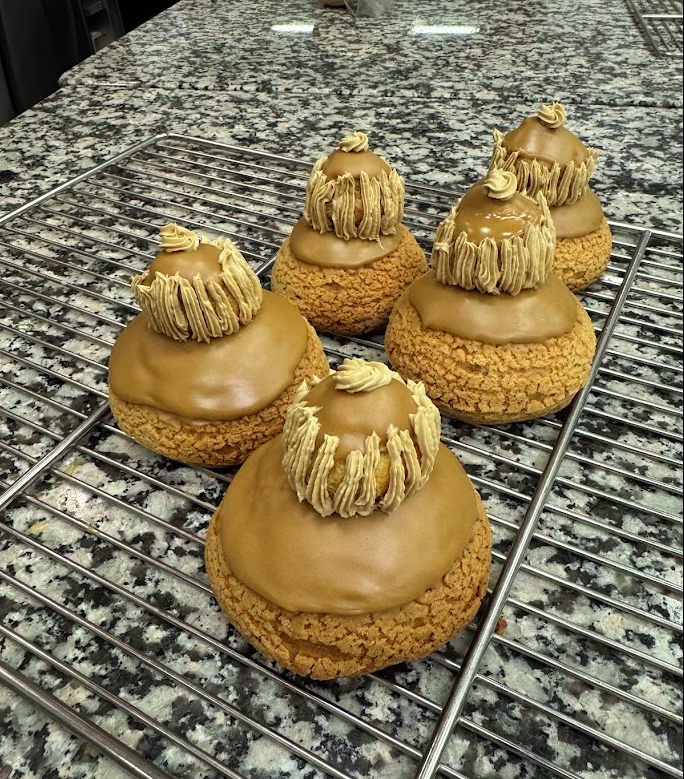
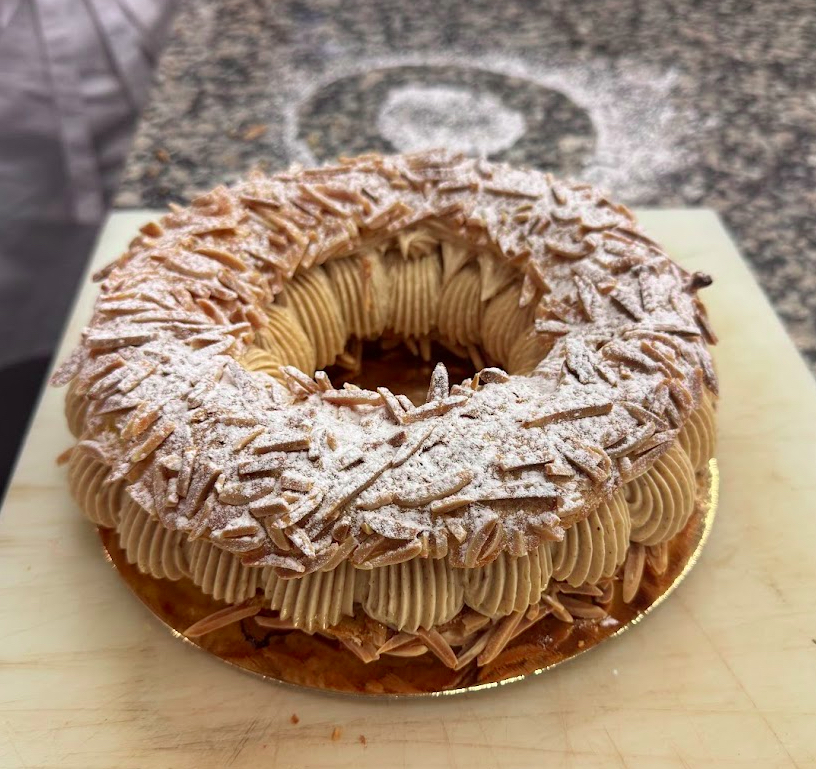
Making choux in different forms for this week definitely felt like I unlocked a new level of achievement in the kitchen. We ended our pastry adventures that week with this excellent view:

Til next post!
Renee

Leave a reply to neilmurphy2015 Cancel reply